Three Hundred & Sixty Five – Days at Home: Week 37

Running away from home to stroll streets in Dunedin for a weekend / Little helper hands mixing carrot cake / Theo at the kitchen window / Stealing 5 minutes peace in the afternoon sun. Can we all just agree to add an extra day to the week dedicated solely to reading? / Tulips blooming in the garden / Cardigan dying 1 + 2 – cross your fingers for me / Lavender for borders and bees / And wonderful news! Dear friends are engaged. So begins a series of parties to celebrate, each more elaborate than the last.

Three Hundred & Sixty Five – Days at Home: Week 26


Not yet ready to abandon Summer’s sandals / An afternoon project – framing a tea towel / Perfect Winter Sunsets (even if they happen at 4.30pm) / Reorganising shelves to make room for more books and records  / …more records! / Painting stones. One of our favourite activities.


We Make: Mistakes. A Pantry Make-Over. And a Give-Away.


Step 1: Find, in your possession, some adorable kitchen labels from Stuck on You.

Step 2: Stand, forlorn, in front of your woefully disorganised pantry. Your Spare-Room Policy of ‘if an area is a total mess, but I don’t have to look at it, does the mess really exist?’ has clearly been extended here. Look from your pantry, to the cuteness of the kitchen labels, and back to your pantry. Resolve that drastic action must be taken.

Step 3: In a flurry of activity, remove every item from your pantry and place them, haphazardly, all over your kitchen surfaces. Preferably an hour or so before you must prepare a meal for your family. This will lead you to discover that the lid of the washing machine makes a perfectly adequate chopping board.

Step 4: With hot soapy water, scrub all hardened jam, flour, crumbs and fingerprints until sparkling clean. As if on cue, have your cat walk over your freshly washed surfaces. Rinse and repeat.

Step 5: Get up at 5.30am, two days in a row, to undercoat your pantry before the children wake up and try to ‘help you’.

Step 6: Go to your local paint store for test-pots. Do not let the fact that, on returning home, you discover you do not have any of the other tools required for painting a decorative feature. You know, like painters tape. Or a ruler. This is the point where most people, on having a freshly painted pantry, all white and inviting, would just say, hey, maybe I don’t need to paint a Chevron stripe in here. But you are not most people.  Devise that, alongside your can-do attitude, a record sleeve and some ordinary cellotape will do just fine to fashion a guide for your stripe. Be pleasantly surprised with the results. Feel a little smug once you have finished. Go and have a shower. I can’t believe you left the house like that.

Step 7: As you stand under the warm water trying to wash the paint out of your hair, think to yourself what a shame it is that it overcast; that now you will have to wait until tomorrow for your paint work to be dry enough to get to the fun part of the make-over – the organising! Wonder if it’s normal to feel so genuinely excited about your kitchen cupboards. Realise suddenly that you seem to have completed a whole thought. This has not been possible during the children’s waking hours…ever before. Feel immediately and overwhelmingly suspicious.


Step 8: Expletives.

Step 9: Thank your ‘helpers’ for the ‘fine job’ they did ‘helping you’. Worry that perhaps the tone in which you write about parenting on the internet is somehow drawing these experiences to you. Try not to think too much about Thomas theorem.

Step 10: Spend another two days preparing all the meals in the wash-house because you cannot face painting the pantry for the eighth time.

Step 11: Just do it already. This is getting ridiculous. You haven’t seen the bench in a week.


Re-Re-Painted Pantry.


Step 12: Paint over Jackson Pollock Jr and Jackson Pollock Jr. Jr.’s masterpiece, ignoring their cries of protest. Realise this may well be the first in series of instances wherein you ‘don’t understand their art’.


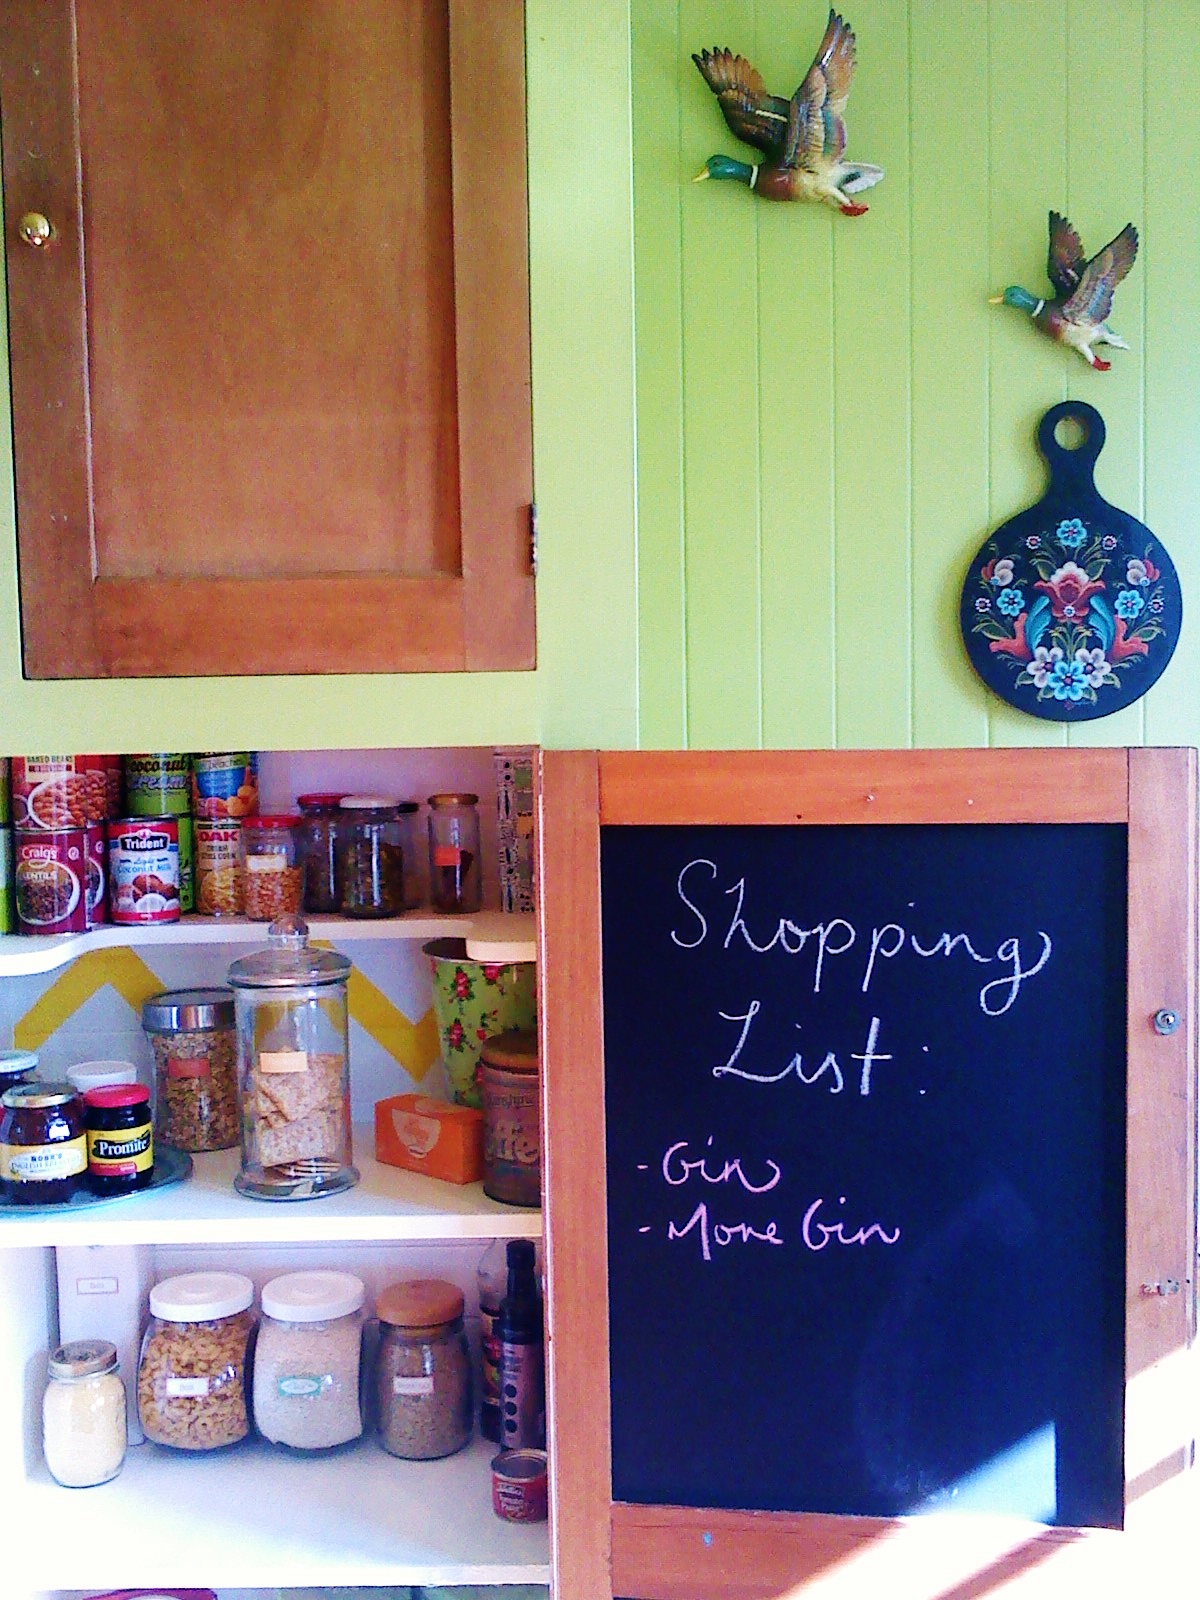
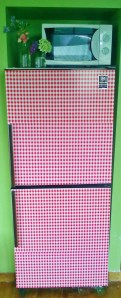
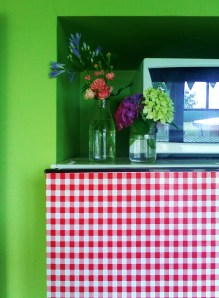
Step 13: Once your pantry is completely dry, enjoy with great relish the grand reorganisation. Know now that this was the reason you had been hoarding all those jars. Stand back often to admire your work and to take a series of poorly lit photographs. Ignore the realisation that you could have just used washi or another decorative tape to create your Chevron stripe, and saved yourself a whole heap of trouble.

But where’s the fun in that?


The End.


And now! A  Give-Away!

Stuck on You have kindly donated a set of their gorgeous personalised kids pyjamas. Head over to their website and check out all the styles available here. Then come on back leave your preference in the comments for a chance to win. I’m crazy about the Circus themed ones!

The winner will be picked at random next Thursday the 18th of April. Good luck!

For more from Stuck on You checkout their homepage. Or say hi to them on Facebook or Twitter.

Three Hundred & Sixty Five: Days at Home / Ninety-One.

91


Creating a gallery wall is a great way to cohesively display art in your home. Here I have clustered artwork made by friends, favourite cards and a paper bag my best friend gave me my birthday present in (it was a tea cosy). Your children may wish to add incredibly adhesive Toy Story stickers to your woodwork. Embrace their creativity with savoir-faire. I mean of course, drink a glass of wine and spend a tortuous hour trying to peel them off once they have gone to bed.


We Make: Storage Solutions – A Quick and Easy Toy Box. And my inevitable surrender to clutter.


I had Montessori dreams.

The children would only have hand-made toys! From local artisans! It’d be nothing but Constructivism and natural fibres and sustainability around here, baby.

Then I actually had children. And with them came a veritable avalanche of tat.

For a long time, holding dear to my previous ideals, all of their toys were sorted into type and on display. I culled as best I could all the junk that somehow found it’s way into our home. But then they would fall in love with the most ghastly tiny wretched plastic treasure, and though it would break within a week, I still had to find somewhere to put it in the meantime.

It took me a long time to come to terms with the idea of a Toy Box – somewhere to throw it all! Where it cannot be seen! But recently, as I was tearing around the house in a desperate frenzy, just sort of flailing wildly at my intricate system of Piles of Associated Items Ready for Return to Their Rightful Place, and trying to prepare the house for a play-date, I was struck with the beauty of having somewhere to throw it all! Where it cannot be seen!

I found the box that had been used by the children for every purpose imaginable in the time since I bought myself a new hoover for Christmas; every purpose, except one – Storage! I threw everything that belonged in the childrens room in this glorious box and threw it all in everyones secret hiding place for what their lives really look like; the Spare Room.

It was a revelation.


But I believe that if you are trapped in a house with tiny dictators all day, the things your home should make you happy. Or perhaps because I have not left the house in 3 years, my Stockholm Syndrome coupled with my Cabin Fever have manifested themselves in wanting to cover everything with with a wipable surface, I naturally had to cover the Toy Box in contact paper.

I also made a fastener by punching a hold in either side of the lid and using a pipe-cleaner to hold a button onto one side and a loop of ribbon onto the other. Because if you are going to do something, you may as well do something that gives opportunity to use all those pipe-cleaners you have.


When I showed the children, Mabel was thrilled.


Theo was furious that I had defaced his space-ship.


You win some, you lose some.

We Make: Alt-Country Refrigerator Make-Over.

Feel constantly affronted by the tedious aesthetic nature if your kitchen appliances. Long for things that are wildly beyond your means. Remember that everyone feels better in a new outfit – surely this also applies to ones fridge.

Pic-12111424

Procure your desired contact paper. This is usually available from dollar stores; alongside the doilies and various other wipeable housewares for the elderly. You could also use the childrens Duraseal, if you were that way inclined. The benefit of contact paper, besides its thickness and durability, is that as with most things no one wants in their home, it is cheap. Go crazy and buy two rolls in case everything goes tits up. Mine ran me around $6. The contact paper, not my actual bosoms. Those I owe to good genes.

Clean the surface of your fridge. I also pried the name badge off with a tiny screwdriver. Try not to inhale the asbestos, or Legionnaires’ disease, or whichever airborne horror came free with whiteware from the 1950’s. Dry thoroughly with the tea-towel the children have not been surreptitiously wiping their noses on.

Fridge 2

Now begins the maddening task of sticking that stuff on. Good luck with that. I can offer no advice other than, try not to lose your shit. Trim to size and starting from a top corner press on slowly, while keeping the tension to avoid air bubbles. There is something to be said for a busy pattern; not only will it give you a headache, it will also be relatively forgiving where it comes to accuracy and pattern matching. Distract the children from the great sweeping lengths of insanely sticky excitement by giving them the cardboard rolls to fight over. Or offer up the discarded backs of the contact paper as a treasure map; they curl perfectly and there are all those little squares. Tell them not to come back until they have discovered gold.

Fridge 2

Like all good home improvements, feel uncertian if your completed project is actually any improvement at all. But remember: if the internet has taught us anything, it’s that there is nothing that a bunch of flowers in a Mason jar can’t fix.

Fridge 4

Fridge 5

Fridge 6

Gingham Style.

fridge 7